Labels

Tuesday 22 August 2017

Chequered Shine


Hi there and welcome to my blog  :)  I'm sharing a sample from the July shows today featuring the beautiful Chequered Flowers stamp and a sentiment from the Mackintosh Words set; Versamark ink, mica powders, gold gilding wax; and an embossing folder from my stash.  


This is a quick and easy card to make, but it looks just as beautiful as some of my more complex designs.  I started with the focal panel using black card.  I stamped the floral image onto the card with Versafine ink and brushed mica powders over it to colour.  I love using mica powders, they give such a lovely shimmer and sheen to any project.  I then matted the panel onto some bright green paper.


I took another piece of black card and embossed it in a folder.  I added gold gilding wax to it and attached it to a white base card.  I then attached the focal panel.  I stamped a sentiment onto black card as before and coloured with mica powders.  I then die cut the sentiment and matted it onto green paper, and attached it to the card.


As I said this design is quick and easy to make, but still looks very pretty and luxurious.  It is a card for all occasions as the sentiment is ambiguous and the colours can be changed to suit.  These Chequered Flowers are good for mens cards as well as womens too.  
Thank you for taking time to drop by today, I hope you've enjoyed this post and will visit again soon  :)  

Frosted Blue Rose


Hi there and welcome to my blog  :)  I'm sharing a card that I made for the first of Chocolate Baroque's August tv shows.  This one is featuring the beautiful Crackling Rose stamp as well as some from the Words of Love and Take it or Leaf it sets; Distress Oxides Cracked Pistachio, Iced Spruce and Broken China, Distress Inks Cracked Pistachio and Broken China, colouring pencils, silver marker pen, black and greyVersafine inks, Stickles.   


I began with the main focal panel.  I stamped the rose onto a piece of white card using grey ink, it gives a softer, hand drawn look. I coloured it with pencils, and added blending and shading.  I wanted the rose to look like it had been touched by Winter's first frost, so I added Stickles.  


To complete the focal panel I die cut and embossed it, then added ink around the edges before taking the die off.  I edged the panel with silver pen then matted  it onto black card.


Next I created the background panel.  I put the DOs onto my glass mat, added water and swirled a piece of white card in them, picking up all the ink and letting it dry.  I'm a little bit addicted to this technique - and these inks lol!  I then used the DIs to stamp the leaves and the word 'LOVE' randomly all over the background panel. I edged the panel with silver and matted it onto black card as before.


I took a spare piece of card and coloured it with DOs as before.  I then stamped a sentiment in black ink and embossed it with clear powder.  I die cut it, embossed and inked the edges as before then added silver pen before matting it onto black card.


To complete this card I attached all the panels to a white base card.  I am so pleased with this design, the background is noticeable but not too overpowering, it showcases the main focal image beautifully.  This card would be great for a lot of occasions, and for male or female recipients alike.  
Thank you so much for popping by my blog today, I hope you have enjoyed this post and will come back again soon  :)

Sunday 13 August 2017

Leafy Mandala


Hello and a warm welcome to my blog  :)  I'm sharing another tv sample from the recent Chocolate Baroque shows featuring their lovely new floral and leaf stamps.  I love leaf stamps so these are right up my street, and I had the idea to make a Mandala pattern with them.
I have used stamps from the Take It or Leaf It, Leafy Trails, Patchwork Butterfly,Just Butterflies and a sentiment from Words of Inspiration sets; Distress Oxides - Spiced Marmalade, Worn Lipstick and Fossilised Amber, Sepia Versafine ink, gold embossing powder, gold gel pen, orange and clear Sparkle pens and a gem from my stash.


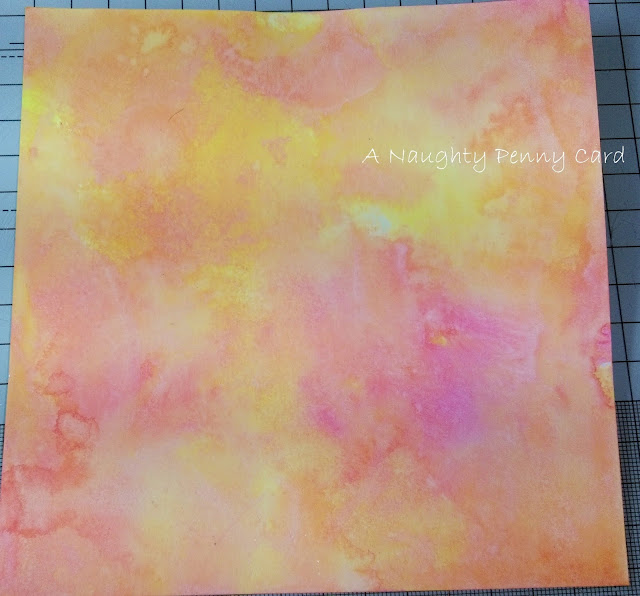
On a piece of white card I created a watercolour background by putting the DOs onto my glass mat and spritzing them with water then dragging and dabbing the card through the inks.  I  repeated this on a second piece of card and let them both dry.


On one of the backgrounds I stamped the Leafy Trails in sepia ink then coloured the berries and leaves with Sparkle pens.


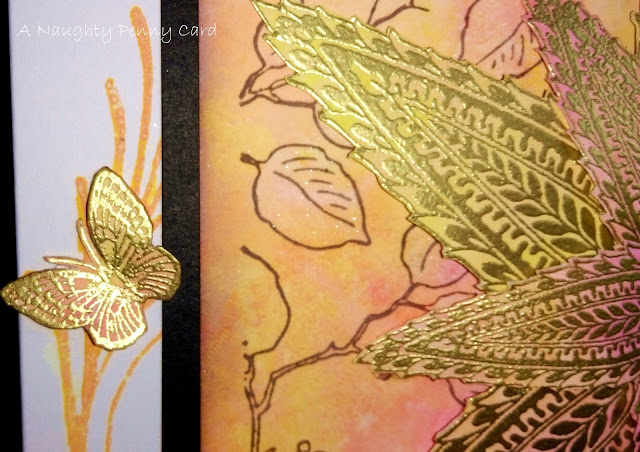
On the other background panel I stamped the two sizes of leaves repeatedly, and embossed them in gold.  I then cut them out and started to arrange them on the leafy background.  I added some DI around the edge of the panel.


On a white base card I stamped some swirls around the edges using DOs, matted the background panel onto black card and attached it to the card.


Next I attached the individual leaves one by one, building the Mandala design and shaping each leaf as I attached it.   I then added a gem in the centre.


Next I stamped a little butterfly onto the spare background and embossed it in gold.  I then cut it out and attached it to the card.


I stamped a sentiment onto the spare background too, and embossed it in gold.  I added lines around it I with a gold gel pen, cut it to size and matted it onto black card before attaching it to the card.


I'm so pleased with this design, it's so versatile!  You could change the sentiment or the colours and
then it would make an excellent and special male or female card for any occassion.
Thank you for popping by today, I hope you've enjoyed your visit and will come back again soon  :)